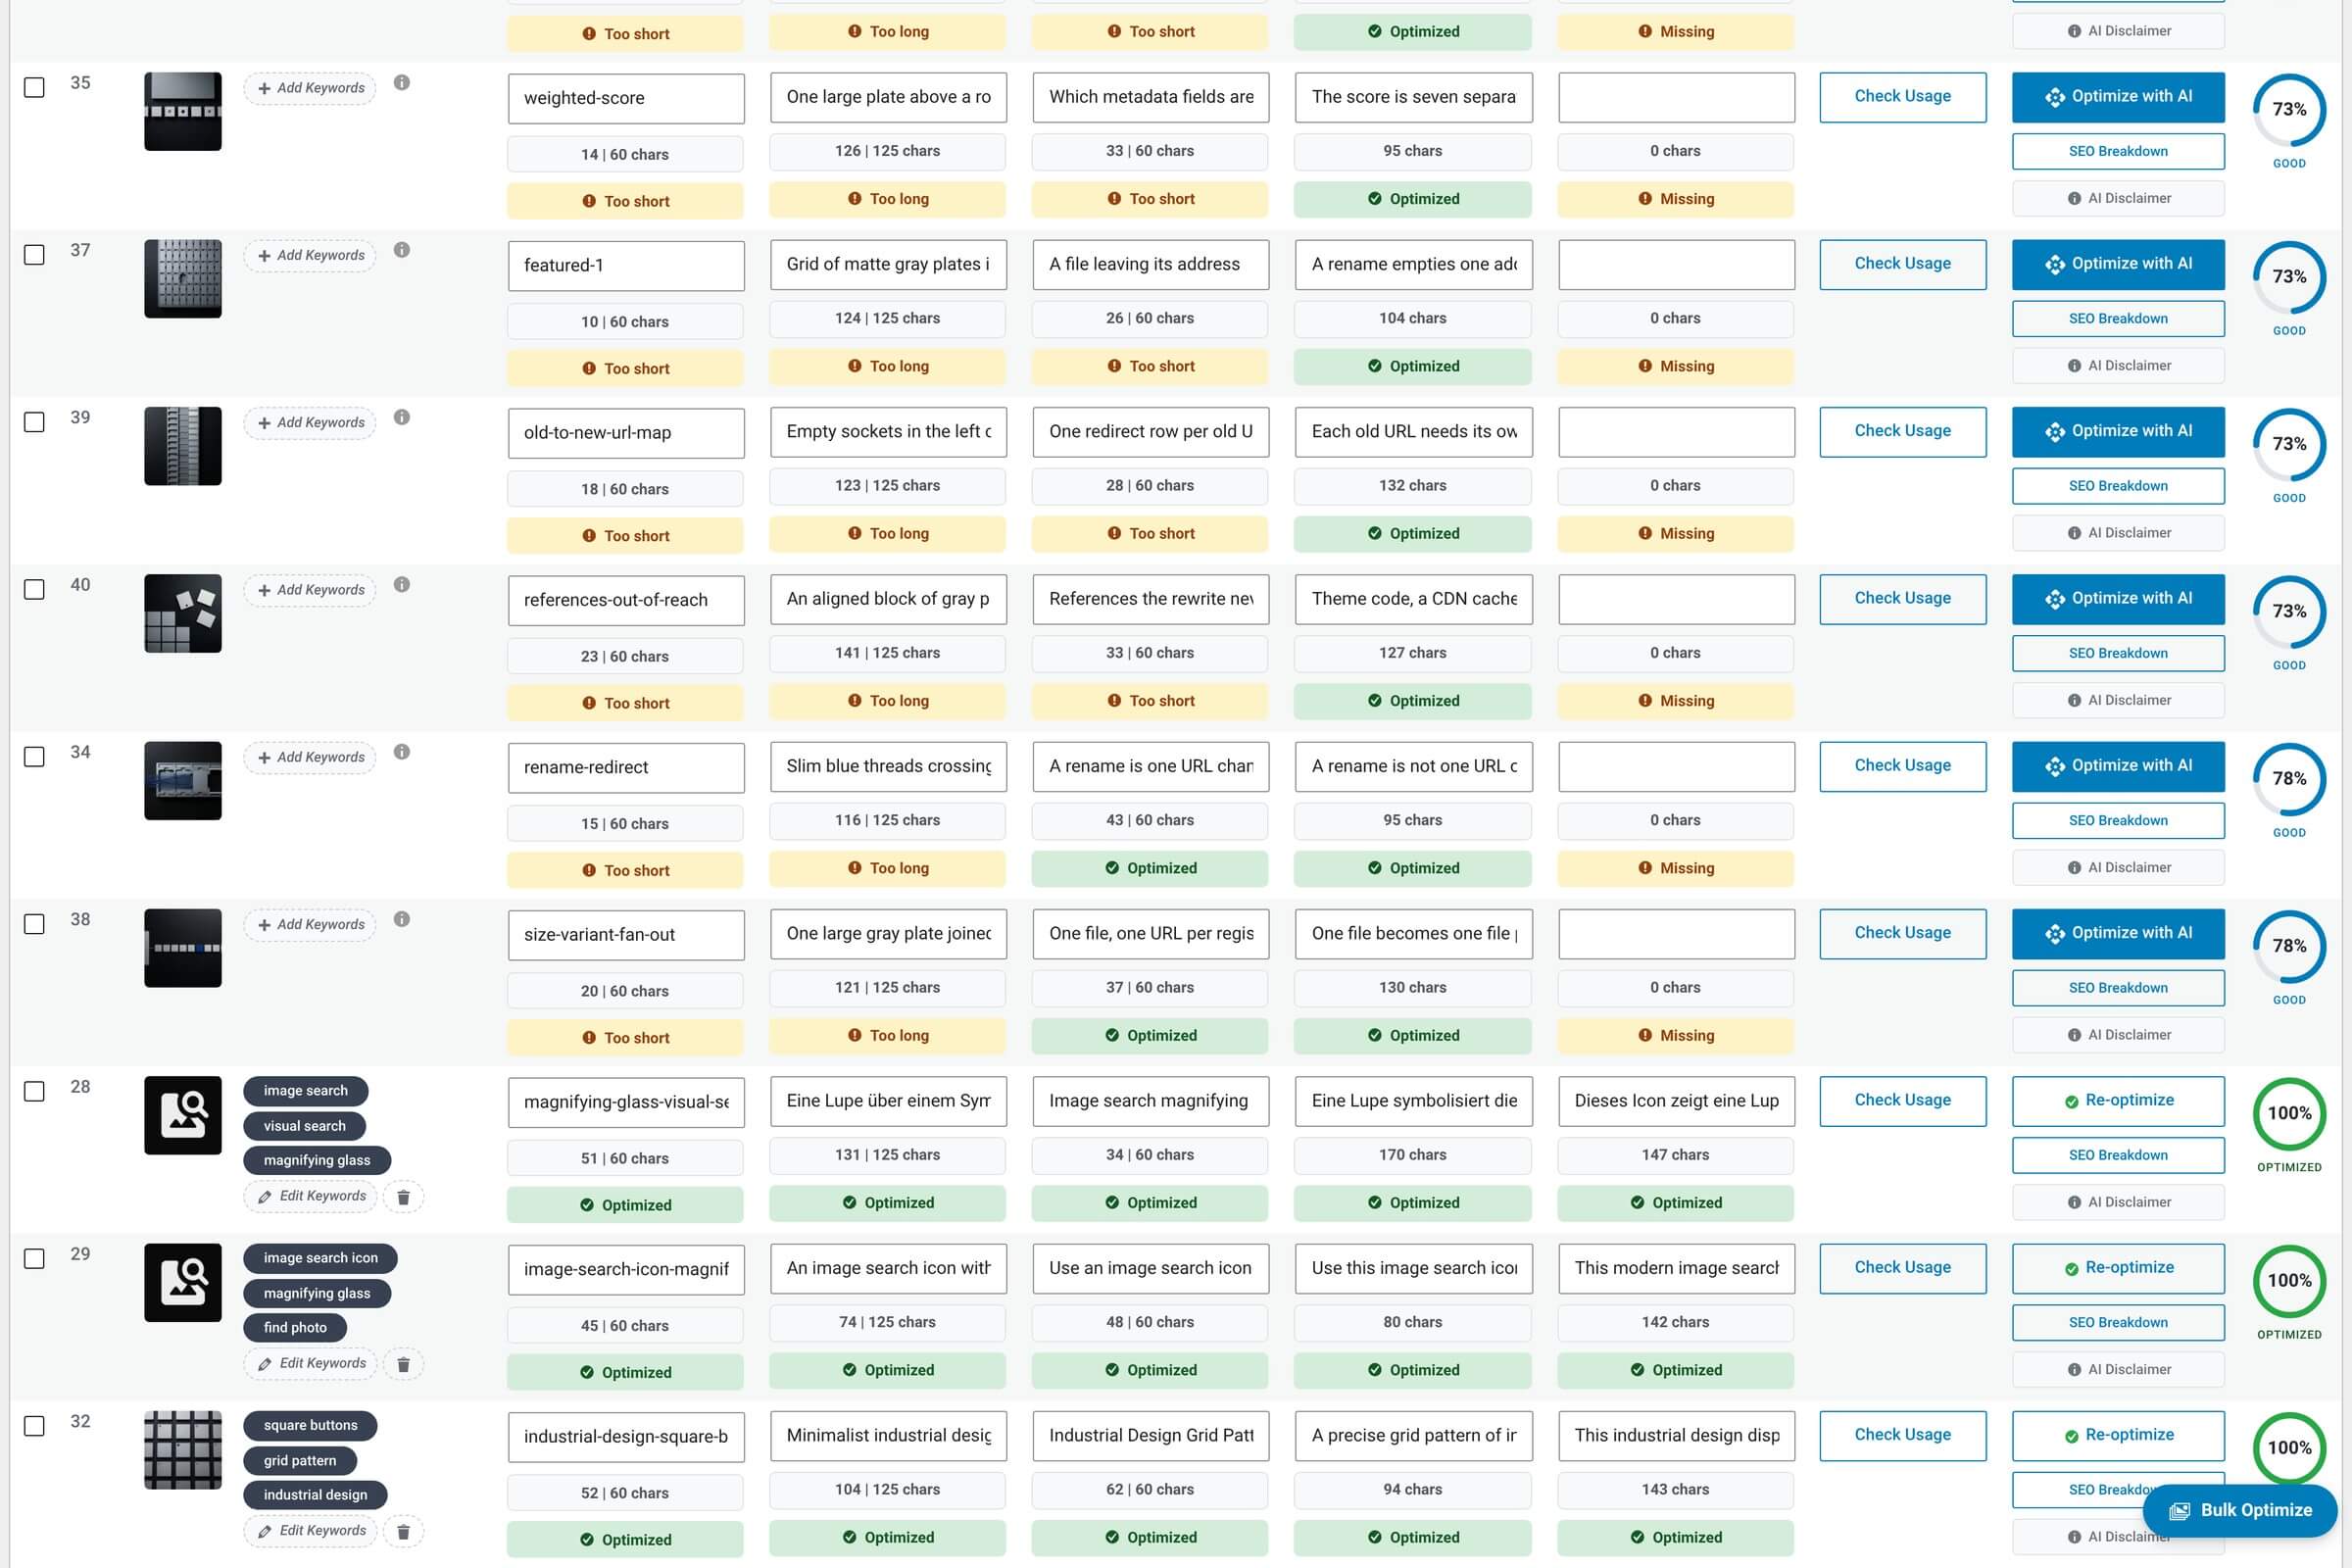
Optimizing a single image is the most common thing you’ll do in the plugin. You click Optimize with AI on a row, the AI looks at the image, and a few seconds later the row’s alt text, filename, title and keywords are filled in — with a fresh SEO score reflecting the new state. This page walks through that flow end-to-end.
The flow, step by step
Click Optimize with AI on a row
Find the image in the table, look at the Actions column, click Optimize with AI. The button shows a spinner — the row is now locked from edits while the AI runs.
If per-image prompt is on: a Custom Prompt modal opens
Only if you’ve enabled Enable per-image prompt in AI Settings. A small dialog pops up asking for one-off context for this image. Type your note and confirm, or cancel to abort the whole optimization. (Skip this step if per-image prompts are off — the global Prompt Add-on is used instead.)
The AI receives the image and your prompt
The plugin sends the image plus the prompt (your global addon, or the per-image override if you just entered one) to your selected provider. The model decides every field in a single call — alt text, filename, title and keywords come back together. With a Pro license two more calls follow, one for the caption and one for the description, so the image is billed three times even though the hourly limit counts the optimization once.
Wait for the model to answer
How long that takes depends on the model, the image and the provider’s current load — the flagship Pro models (Claude 4.5 Sonnet, Gemini 3.1 Pro, GPT-5 mini) are slower than the cheap-tier ones. Nothing hangs forever: the request timeout is 60 seconds by default, stored in infyp_optimization_settings.request_timeout and clamped to a 60–120 second range.
The row updates inline
Just that row — the rest of the table stays put, no scroll jumps. Each AI-generated field becomes editable: hover to see the edit affordance, click to tweak. The SEO score updates immediately to reflect the new state.
Optional: edit any field, score recalculates live
If the alt text isn’t quite right or you want to tighten a keyword, click into any field and edit. The score recalculates as you change values — handy for chasing those last few SEO points without re-running the AI.
About filename changes
Accepting an AI filename renames the file on disk
When the AI suggests a new filename and you accept it, the file is physically renamed. Page-builder content is automatically updated to point at the new URL: six adapters ship with the plugin, covering Gutenberg, Elementor, WPBakery, Visual Composer, Uncode and Divi. The old URL is 301-redirected, so search engines and bookmarks keep working. Hand-written theme code or third-party caches that hard-code image URLs won’t auto-update — use the Image Usage modal to check first if you’re unsure.
Re-optimizing an already-optimized image
There’s nothing special about re-running an image that’s already optimized — click Optimize with AI again and the AI proposes fresh values. They overwrite the previous ones field-by-field. If you want to clear the existing keywords first (for example, when your site’s voice has changed and you want a clean reset), use Clear Keywords from the Keywords modal before re-running.
Re-optimizing always counts as a fresh AI call
Every optimization, fresh or repeat, counts as one API call against the per-user hourly limit (100/hour) and against your provider’s quota. The plugin doesn’t cache or skip — if you ask for a re-run, it goes to the AI.
Editing fields without re-running the AI
You don’t need to re-run the AI to change a field — every cell that holds AI output is also a click-to-edit modal. Each has its own page in this guide; together they let you tune anything the AI got close-but-not-perfect:
Modal: Image Preview
Click the thumbnail to see the image full-size, plus its metadata and file path.
Modal: Keywords
Edit, add or remove SEO keywords. Up to three per image.
Modal: Filename
Rewrite the filename safely — auto-301 redirects, page-builder updates included.
Modal: Alt Text
Edit the alt attribute that screen readers and search engines see.
Modal: Title
Edit the WordPress post title for the image attachment.
Modal: SEO Breakdown
Click the score badge to see which sub-scores are pulling the total up or down.