The setup wizard runs on first activation and takes a fresh install to a working configuration in four steps: welcome, API keys, preferences and complete. Since 1.0.6 it is a single page — the steps swap in place with animated transitions instead of reloading. This page covers what each step asks for, where every answer is stored, and how to open the wizard again afterwards.
How the wizard screen works
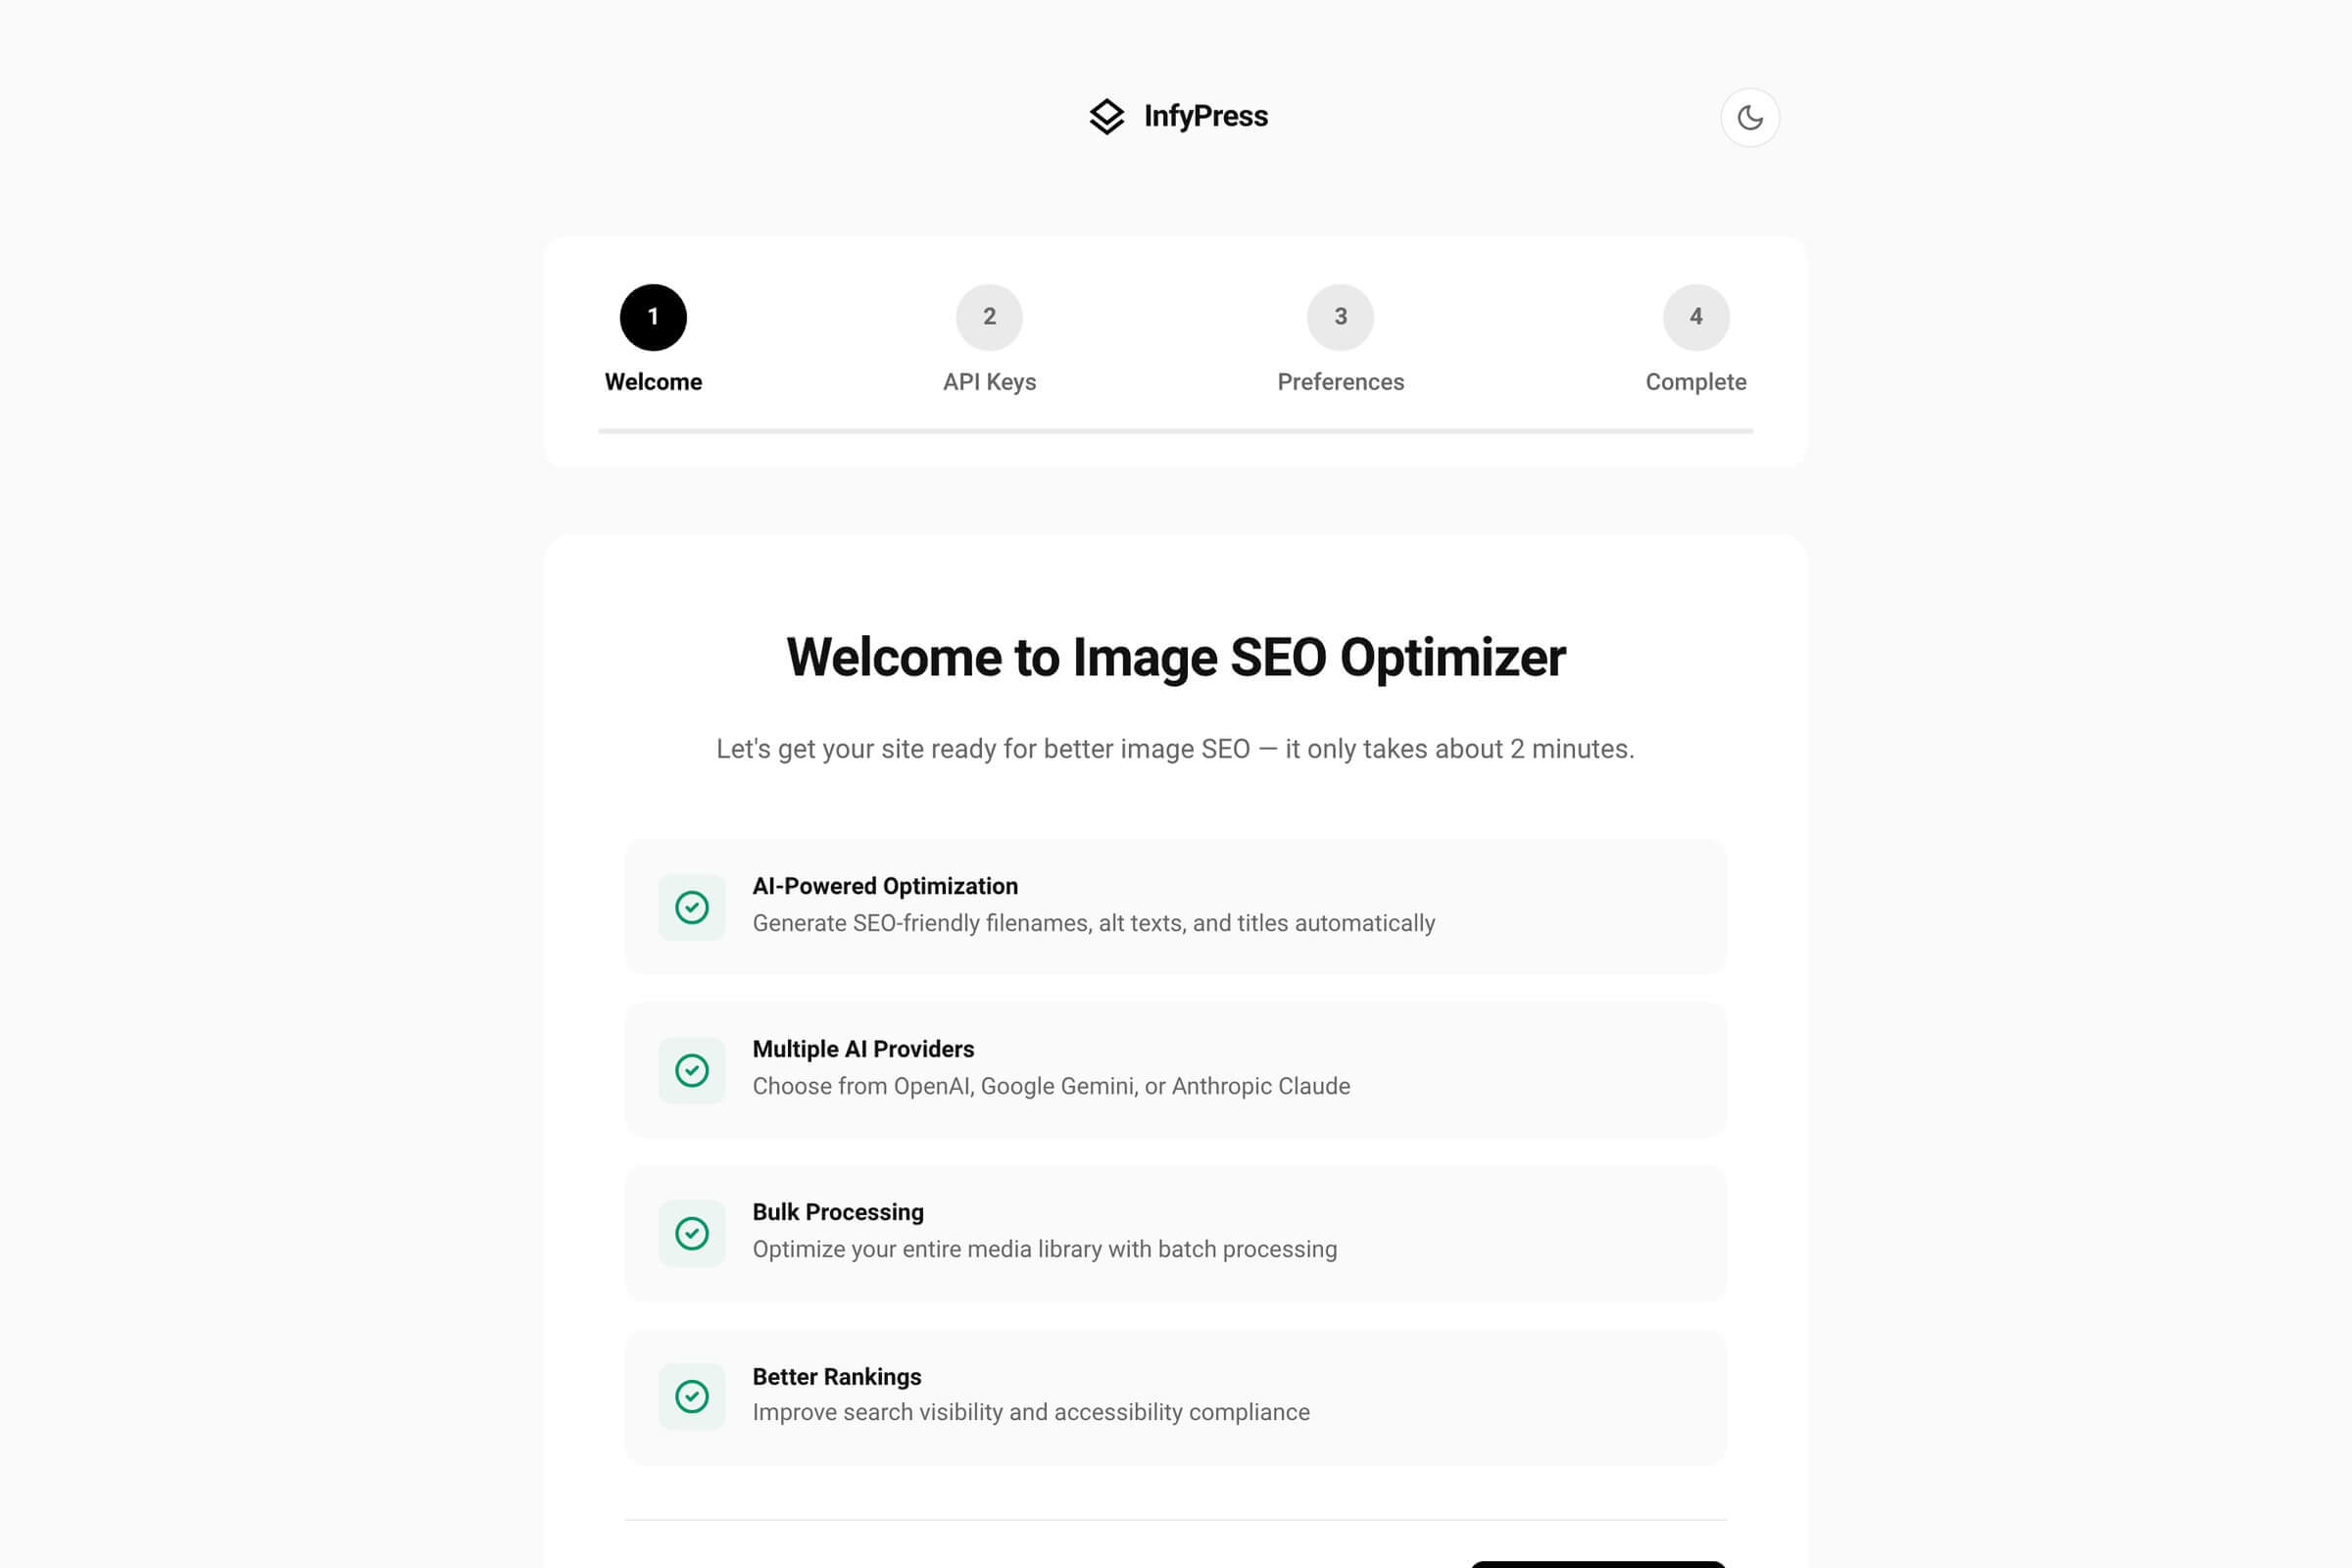
The wizard lives at wp-admin/admin.php?page=ai-image-seo-optimizer-wizard and requires the manage_options capability. It is registered as a hidden submenu, so it never appears in a menu — activation redirects you to it, and afterwards you reach it by URL. All four step panels are rendered into the page at once and swapped client-side.
The ?step= parameter still selects a step, so deep links work and the Back links are real URLs rather than script handlers. That is the fallback when JavaScript fails: without it you get plain steps instead of a broken screen. Transitions are skipped entirely when the browser reports prefers-reduced-motion.
The progress rail across the top is a real navigation landmark labelled Setup progress. The current step carries aria-current="step", steps you have not reached yet are disabled buttons, and a live region announces each change as Step 2 of 4: API Keys. Steps you have already visited stay clickable, so you can go back without losing what you typed.
The wizard ignores your theme
Since 1.0.6 the wizard page dequeues every style and script it does not need, and removes the Customizer’s Additional CSS. Only infyp-variables, infyp-setup-wizard, infyp-admin, jQuery and the wizard script survive. This applies to this one page request only — nothing else in your admin or on your site is affected.
The header carries a dark-mode toggle. Light is the default, and your choice is stored in the browser under the infypress-theme key in localStorage. It is per browser, not per user account, and it changes nothing outside the wizard.
Step 1 — Welcome
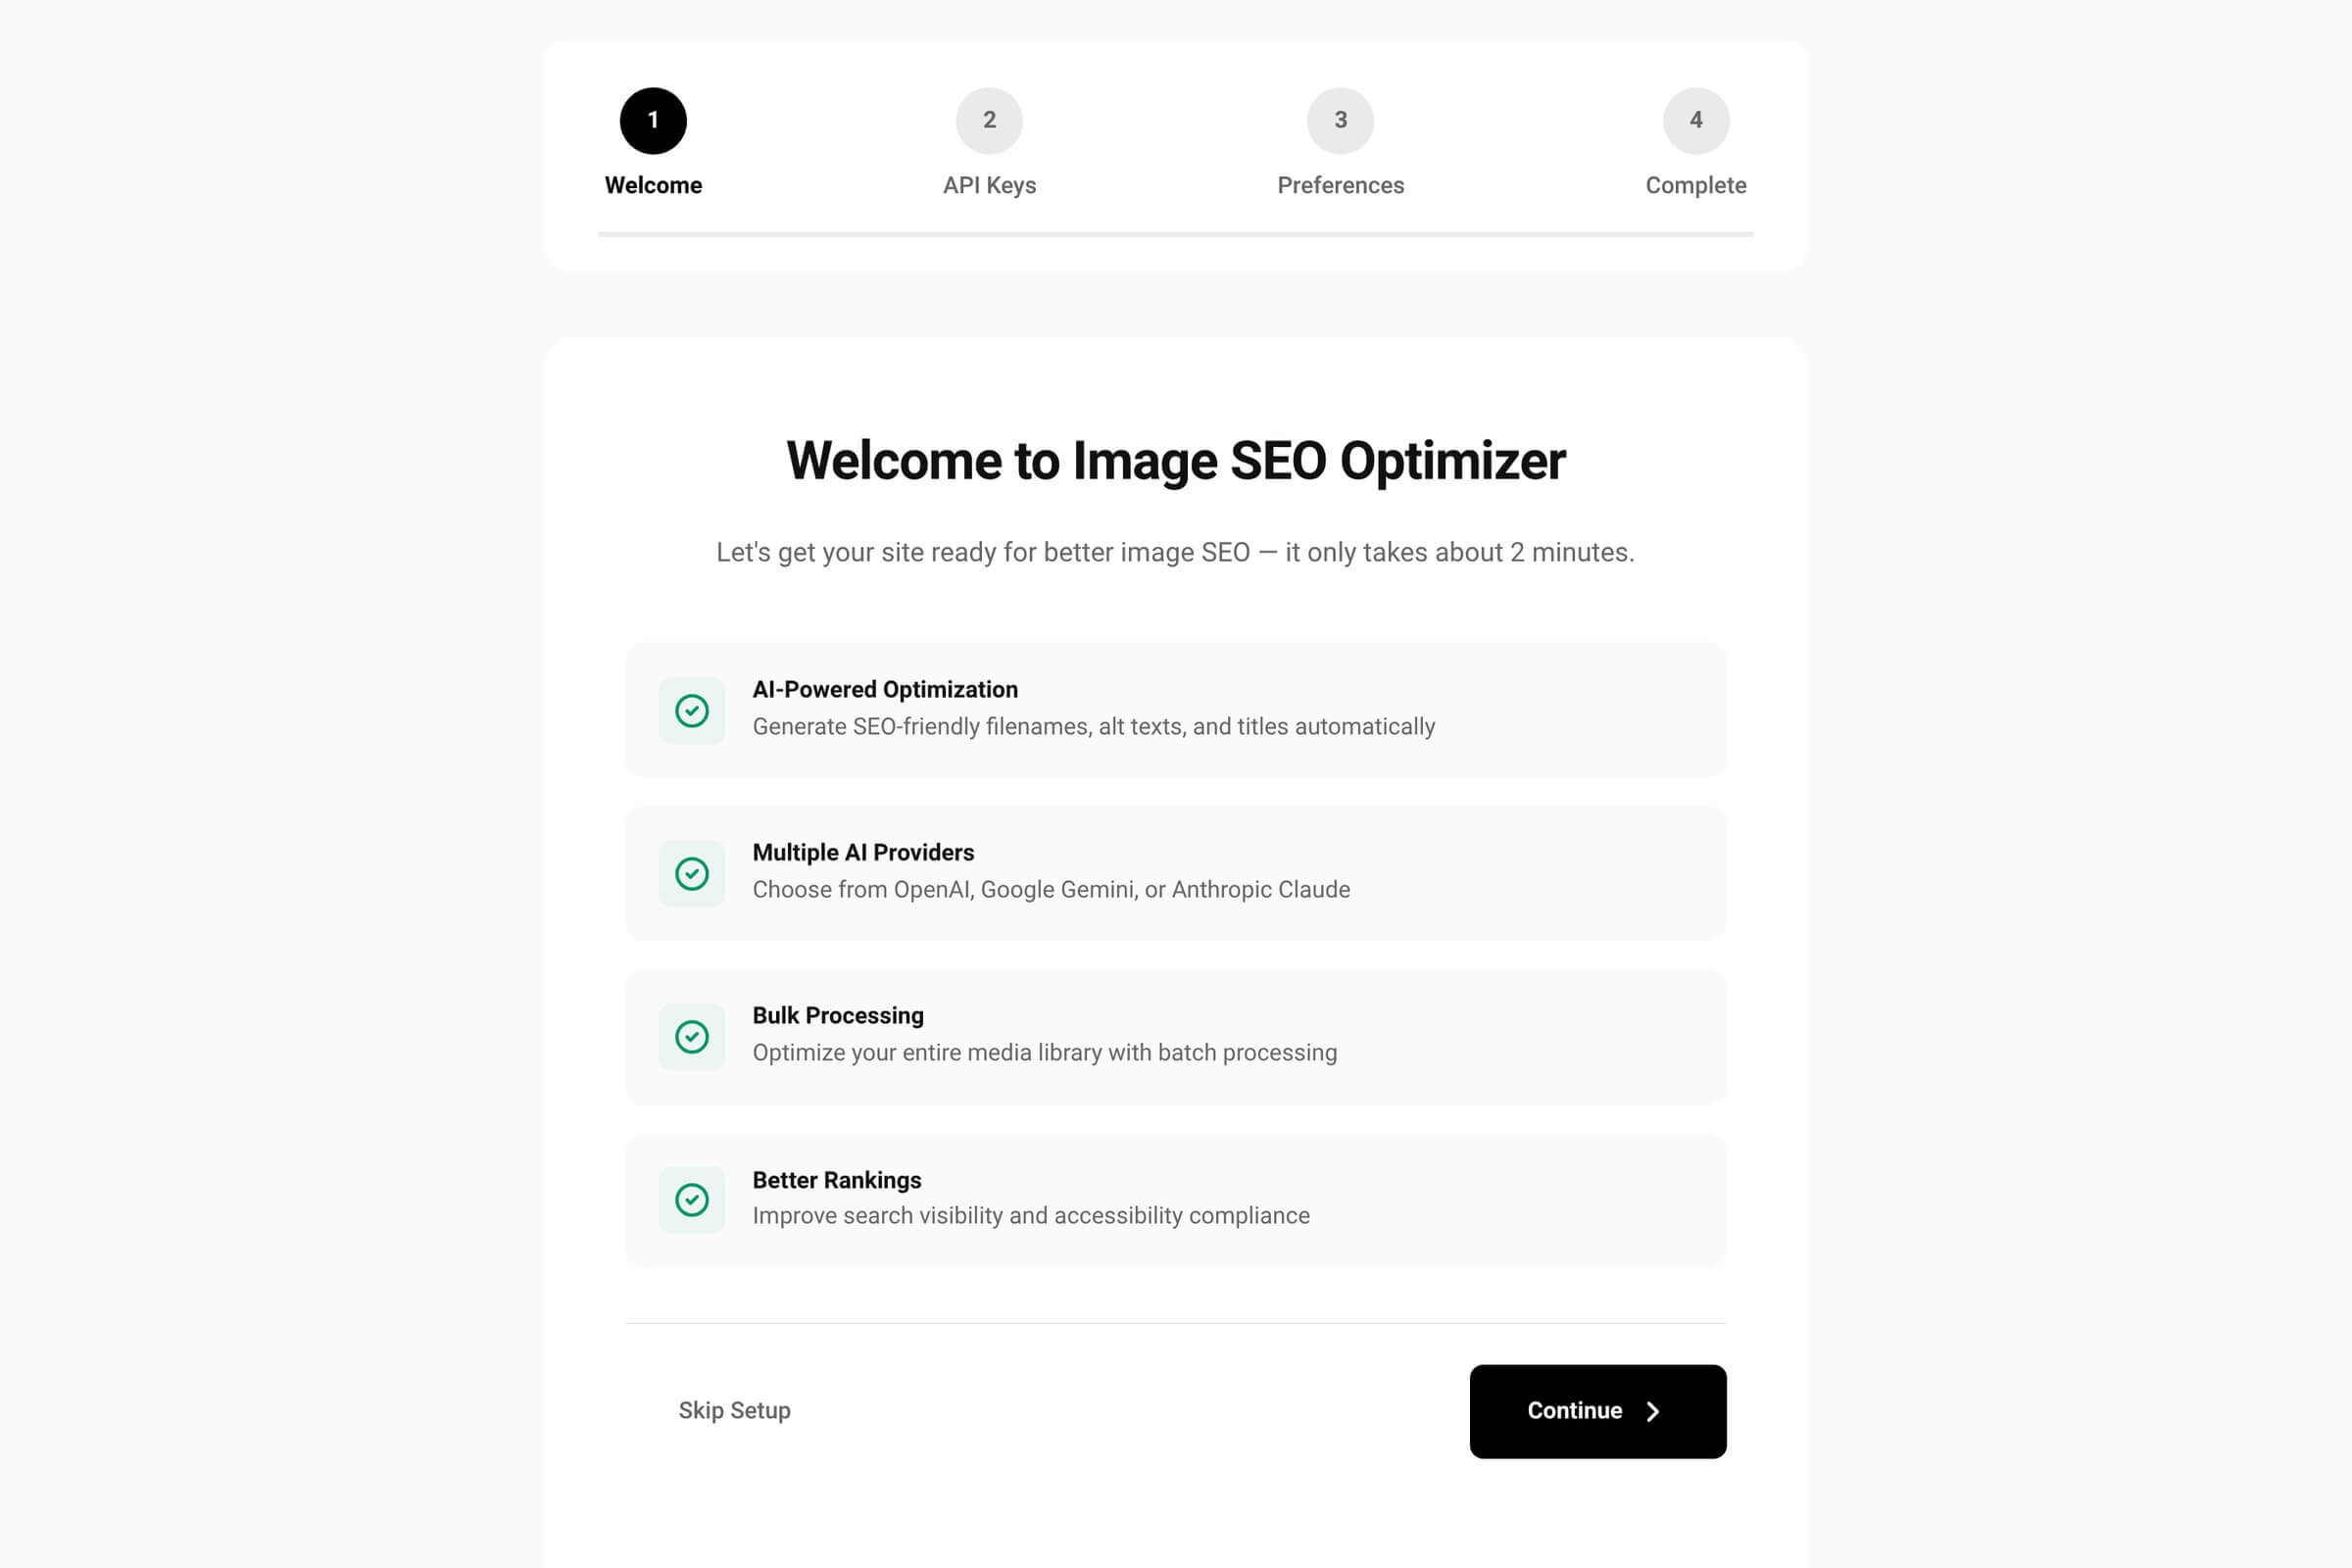
A short intro screen listing what the plugin does. Two controls: Continue moves to the API keys step, Skip Setup asks for confirmation and then returns you to the dashboard. Nothing is saved on this screen.
Skipping is not the same as leaving the wizard open. It marks the wizard as done — the reminder notice and the automatic launch both stop — but it saves no keys and no preferences, so the plugin cannot optimize anything until you add a connection on the API Keys page.
Step 2 — API keys
Since 1.0.6 this step has two sub-screens: Connect, where you choose how the site talks to AI, and the provider key screen, where you paste one key. Continue walks the sub-screens first and only then moves to the next step.
Connect: WordPress AI or your own keys
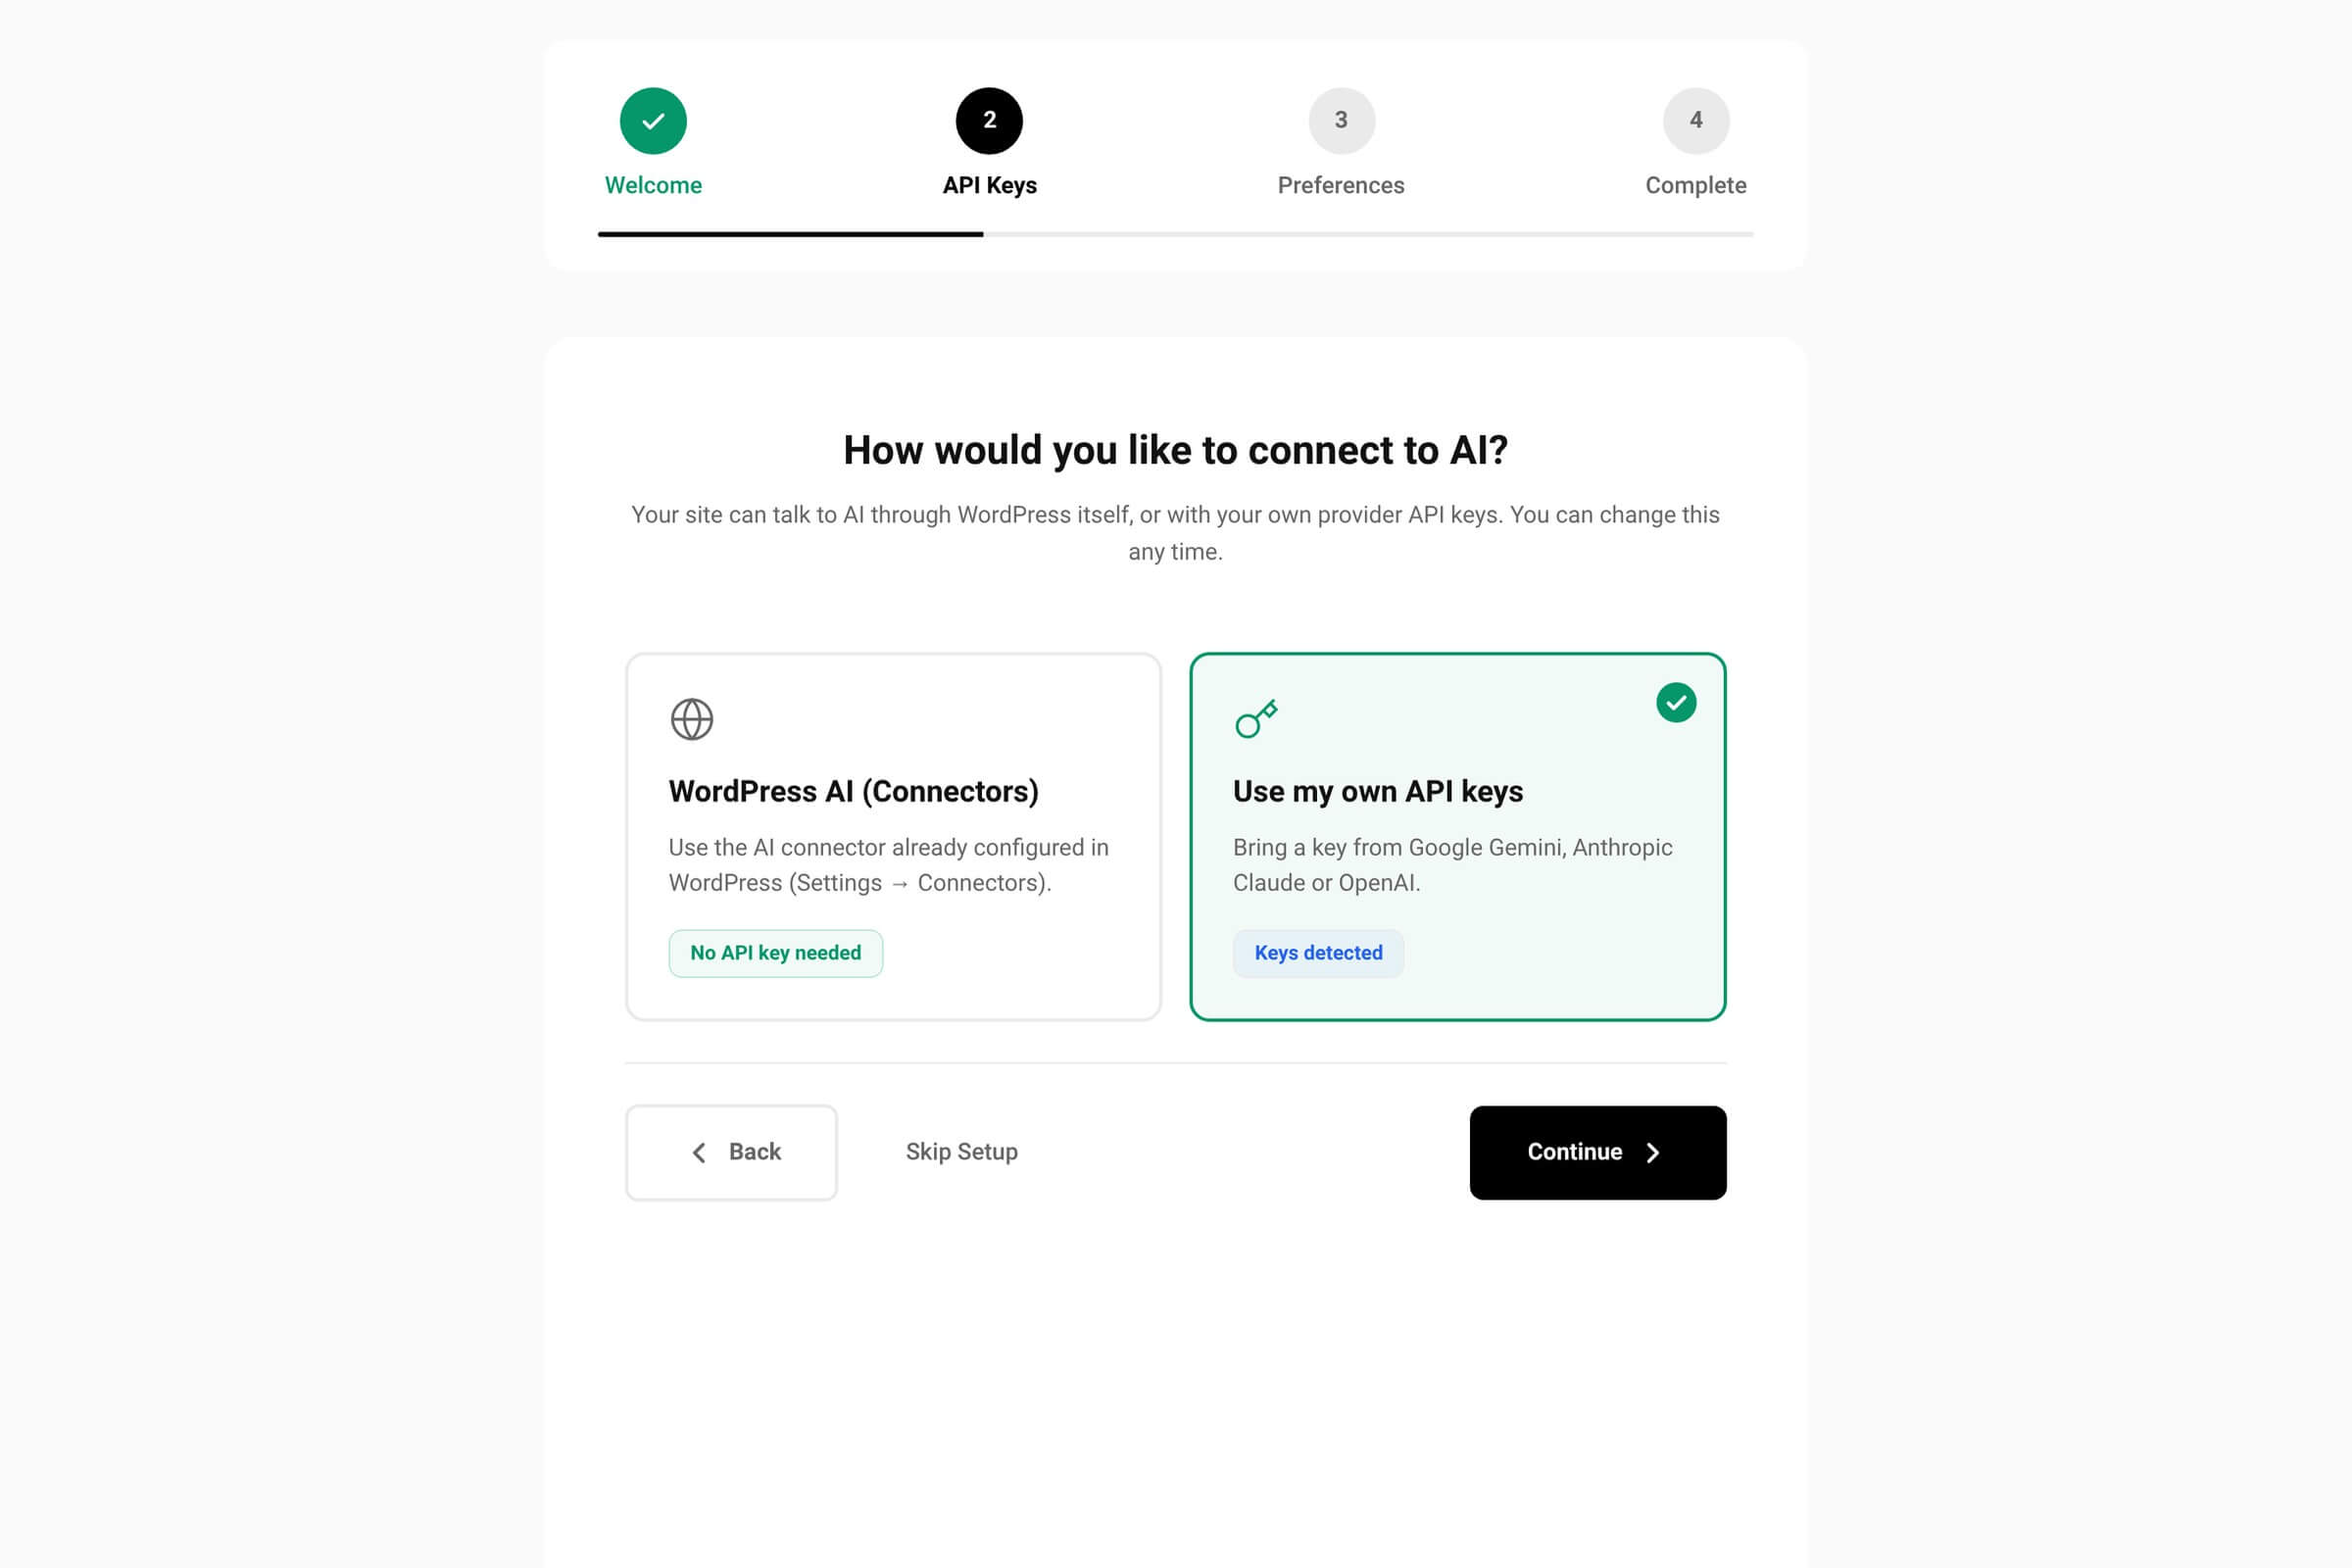
Two cards. WordPress AI (Connectors) routes requests through the connector configured in WordPress itself and carries the badge No API key needed. Use my own API keys takes a key from Anthropic, Google or OpenAI, and shows a Keys detected badge when the site already has one stored.
This sub-screen appears only when the site runs WordPress 7.0 or later and a connector can already generate text. On anything older, or with no connector configured, the wizard opens the provider key screen directly and the choice never appears.
A fresh install with a usable connector and no stored keys pre-selects WordPress AI; otherwise the method you saved before wins. Choosing WordPress AI skips the key screen entirely and writes wp_ai to the infyp_connection_method option. The choice is re-checked on the server, so it can never be set on a site that cannot serve it.
Connectors never fall back to your keys
While WordPress AI is selected, stored API keys are kept but unused. If the connector disappears — the site is moved back below WordPress 7.0, or the connector is removed — optimization fails with an admin notice instead of quietly switching to your keys and billing them. Switch the method back on the API Keys page to use keys again.
Provider key: one provider at a time
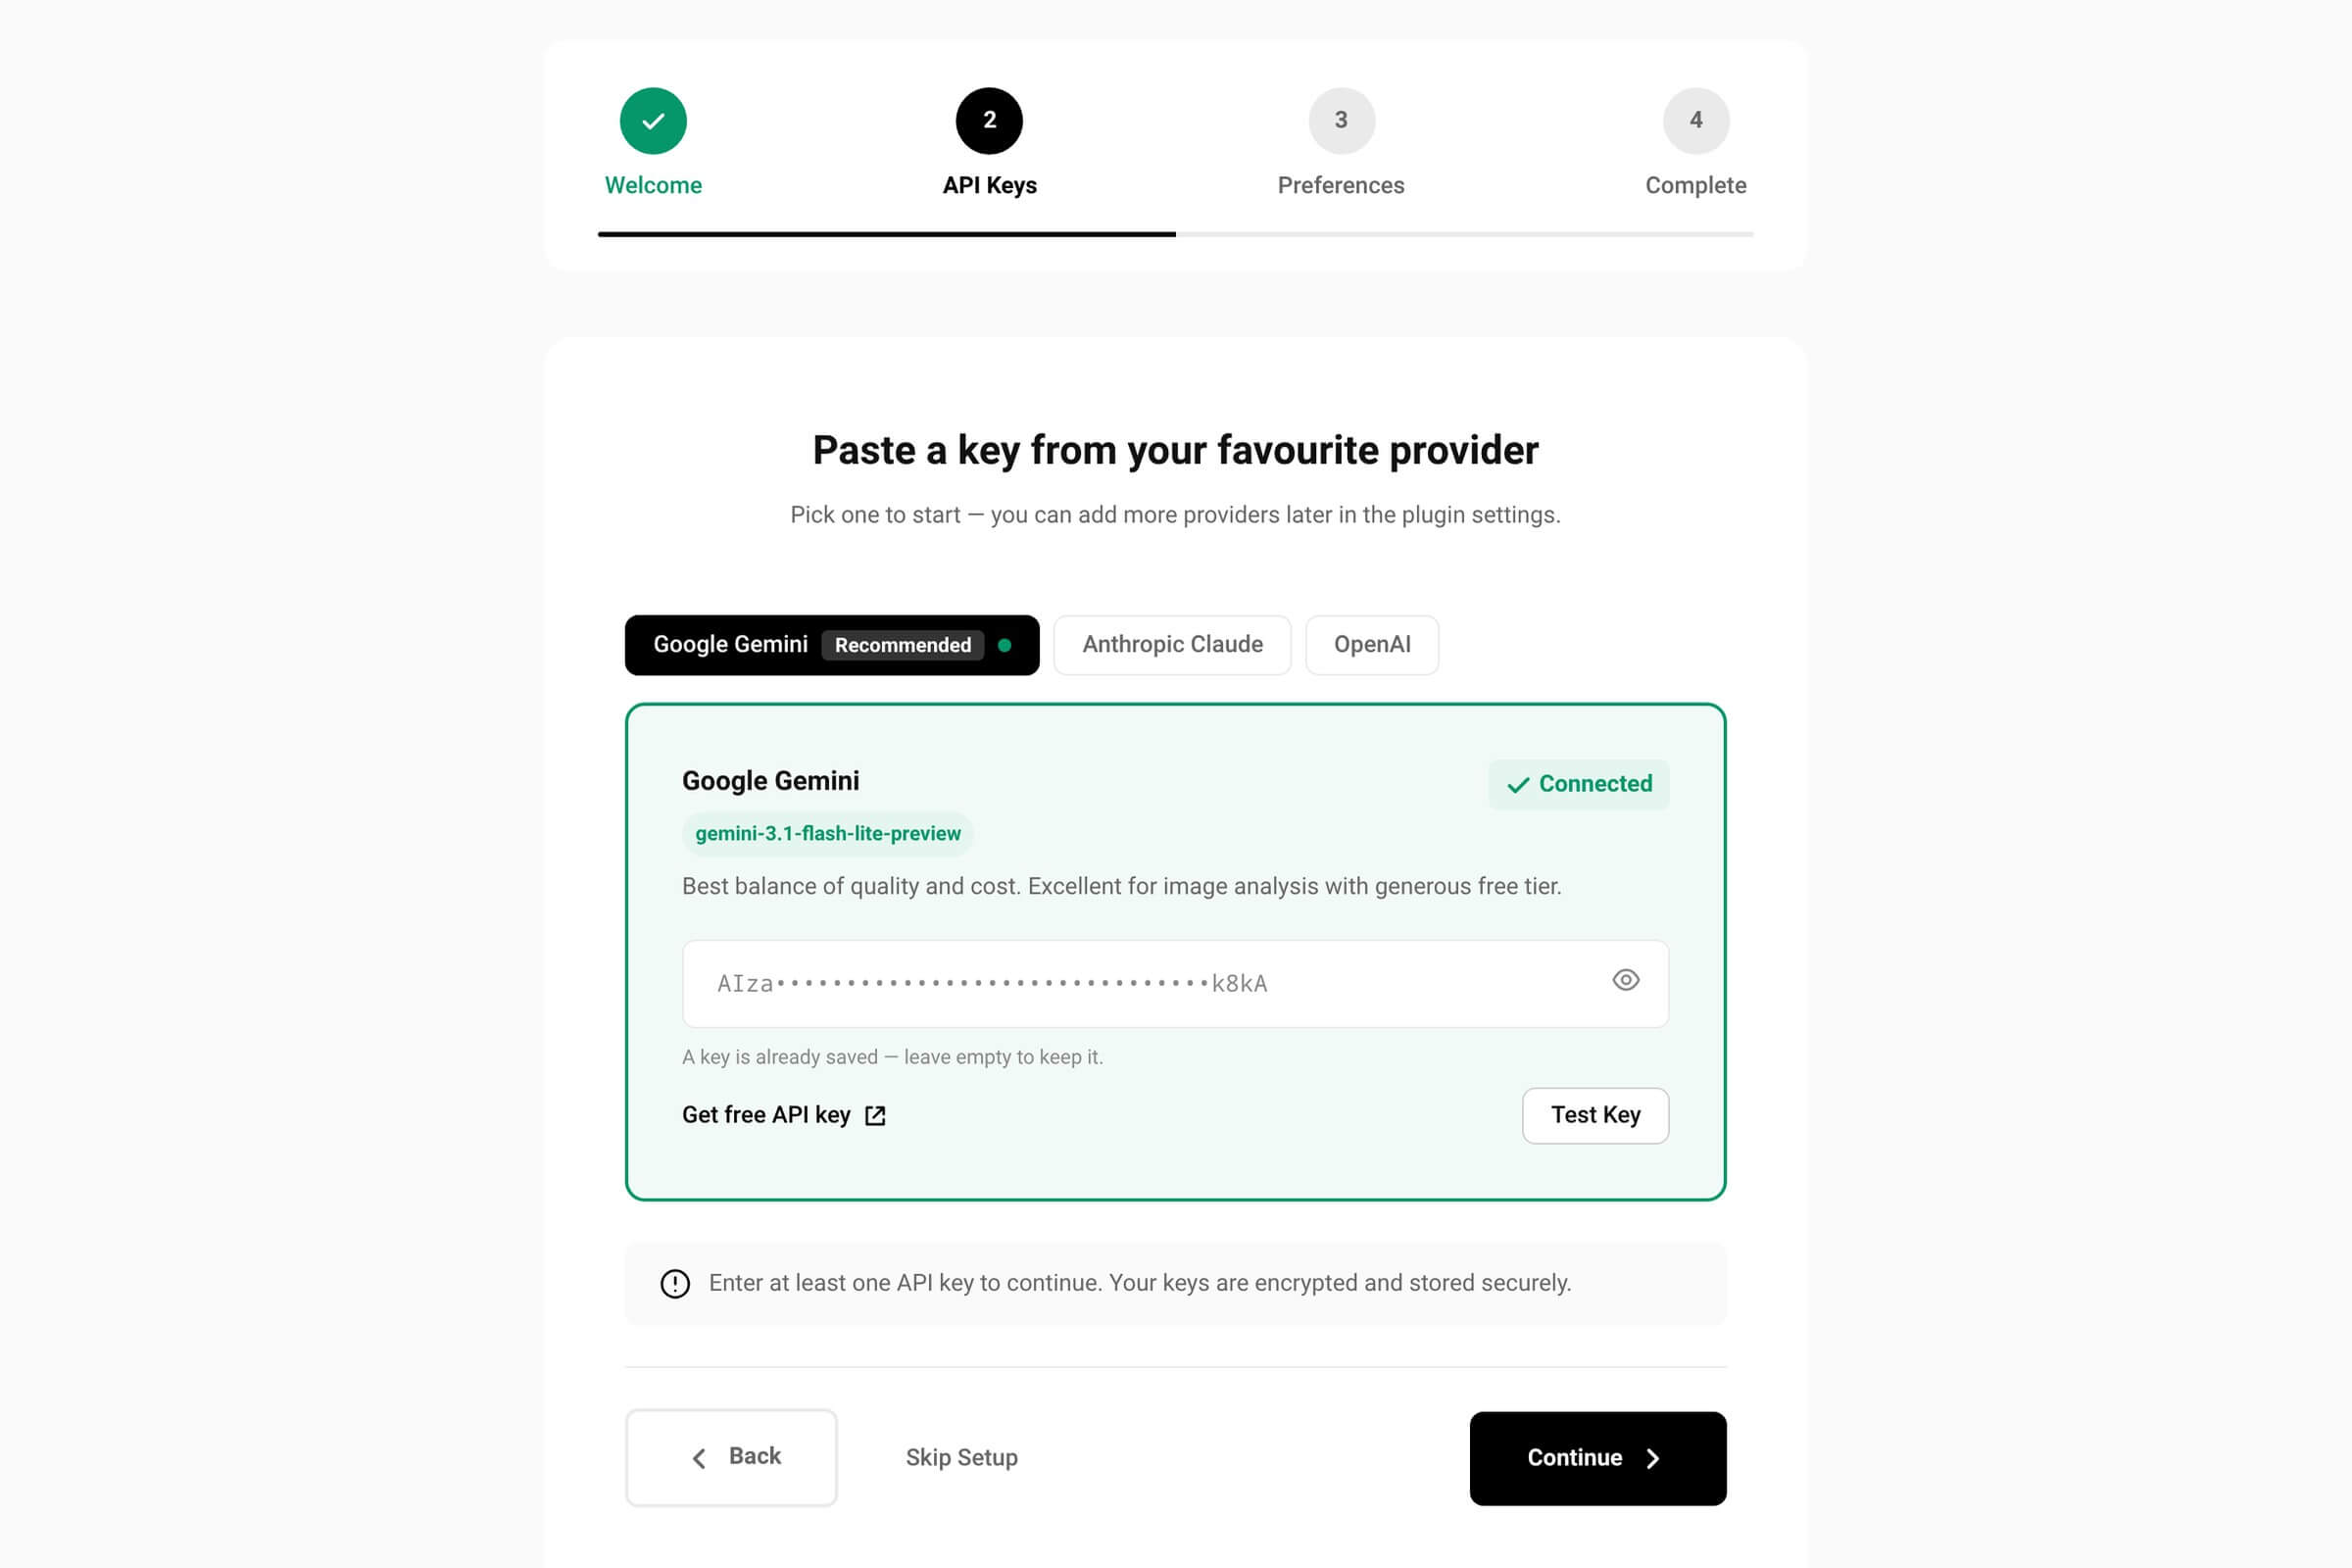
Three tabs, one card each. The Google tab opens first and carries a Recommended badge, unless another provider already has a key and Google does not. Each card shows the model the plugin uses for that provider, a password field with a visibility toggle, a link to the provider’s console and a Test Key button.
Where each key comes from
| Setting | Description |
|---|---|
Anthropic Claude
|
Key from console.anthropic.com/settings/keys. The card names the model the plugin sends to Anthropic: Claude 4.5 Haiku, registry ID claude-haiku-4-5. |
Google Gemini
|
Key from aistudio.google.com/app/apikey. The card names Gemini 3.1 Flash-Lite, registry ID gemini-3.1-flash-lite-preview — the default model in a fresh install. |
OpenAI
|
Key from platform.openai.com/api-keys. The card names GPT-4.1 mini, registry ID gpt-4.1-mini. |
You only need one. All three fields stay in the page, so pasting keys for two providers and continuing once saves both. A provider that already has a stored key shows a Connected badge and a masked placeholder instead of an empty field — leave it empty to keep the stored key.
Continuing requires at least one key, or WordPress AI selected on the previous sub-screen. Keys are written to the encrypted infyp_api_keys option when you continue, not when you test.
What Test Key reports
Test Key sends an authenticated request for the provider’s model list — no tokens, no cost — with a 10-second timeout, and reports one of three results. With the field empty it tests the key already stored, so you can check an existing key without pasting it again.
The three results
| Setting | Description |
|---|---|
Valid
|
The provider answered 2xx and accepted the key. Nothing else to do. |
Invalid
|
The provider answered 400, 401 or 403. Its own message is passed through — a rejection can mean a wrong key, but also a real key on an account that still needs identity verification or billing. |
Saved — not verified
|
The provider could not be reached, or answered something else. The key is not proven wrong, only unchecked. Firewalls and outbound blocks land here. |
A failed test does not discard the key
Testing and saving are separate. Whatever the test says, the key is stored when you continue past the step, and on the API Keys page it is saved first and verified afterwards. Format checks were removed in 1.0.6 — providers change key structures, so only length and stray whitespace are rejected. A live test is the only real verdict.
Results are cached for 5 minutes, or 1 minute after a network failure, so repeated clicks do not hammer the provider. Fixing a key and testing again inside that window can return the previous answer.
How keys are stored
Keys are encrypted with AES-256-GCM before they reach the database, under a key derived from your site’s AUTH_KEY and SECURE_AUTH_KEY salts. If those salts are missing or left at their defaults, the plugin refuses to encrypt rather than storing anything readable. Saved keys are never displayed again — only a masked form of them.
Step 3 — Preferences
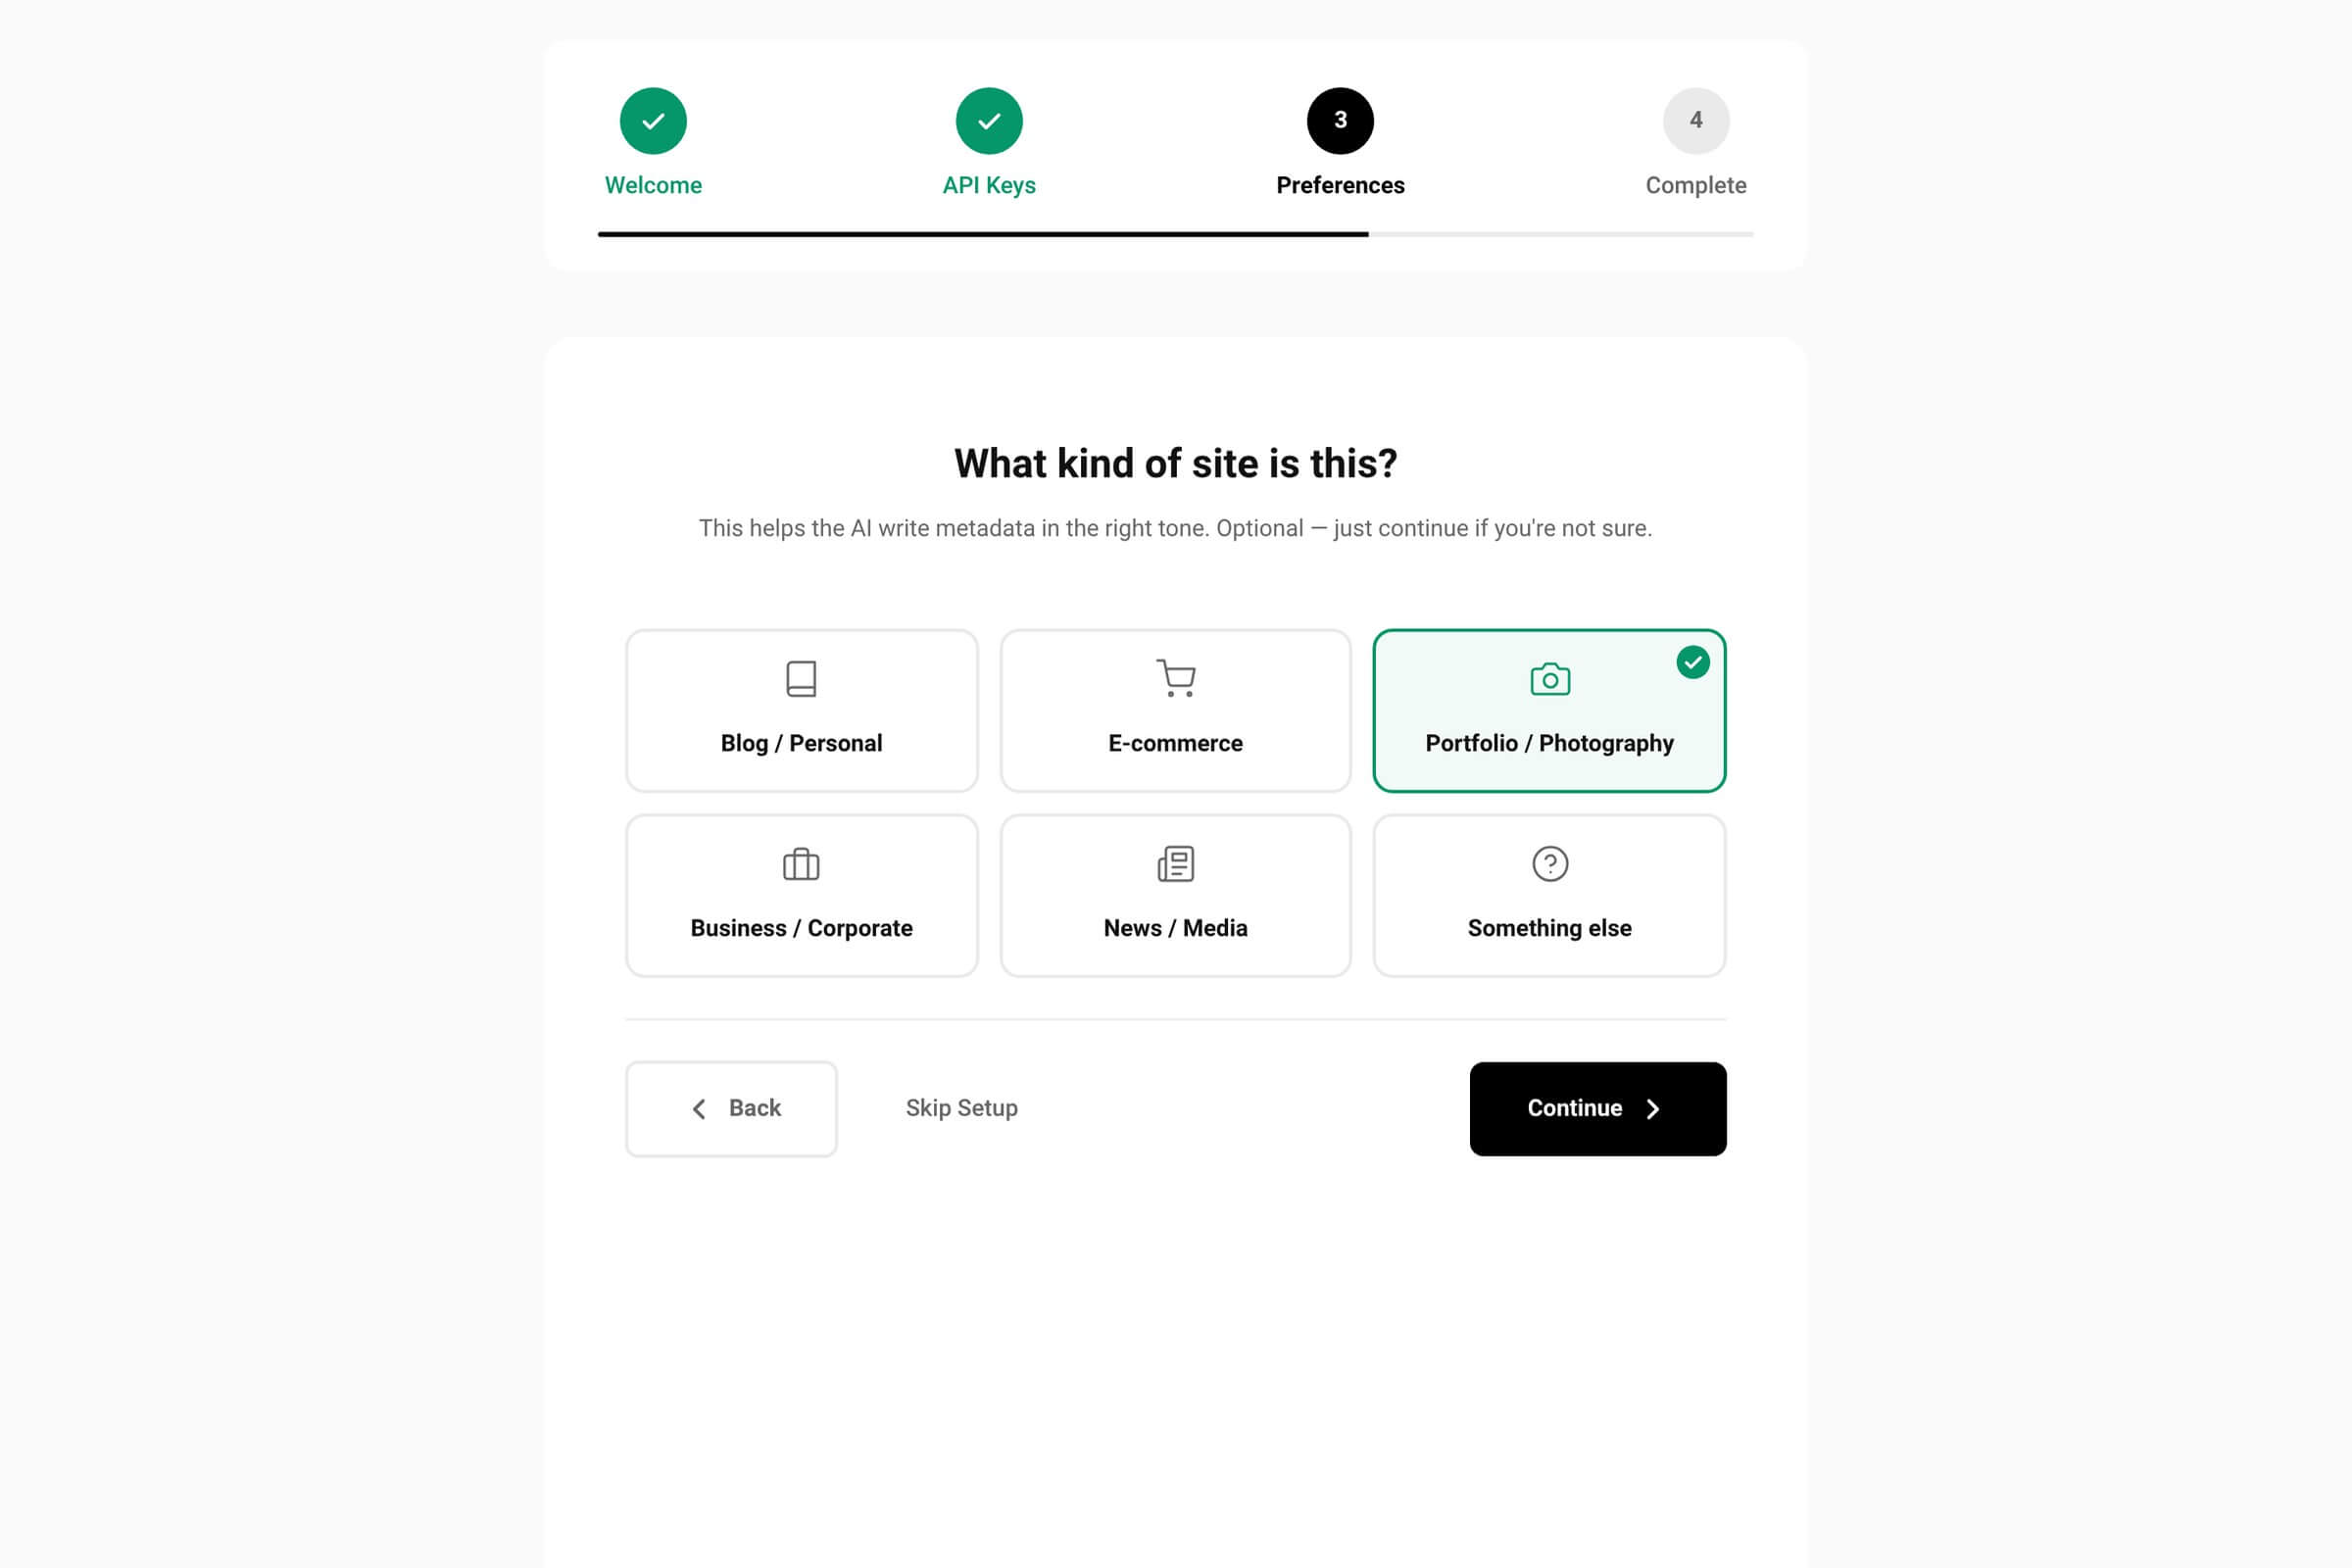
Three sub-screens: your site, language and library size, and the newsletter. Everything here is optional, and Complete Setup replaces Continue once you reach the last one. The whole step is saved in a single request when you finish it.
What kind of site is this
Six cards: Blog / Personal, E-commerce, Portfolio / Photography, Business / Corporate, News / Media, and Something else. The answer is stored under website_type in the infyp_wizard_data option.
Site type does not reach the AI yet
Nothing outside the wizard reads infyp_wizard_data.website_type in the free plugin — it is stored and shown back to you on the final screen. The setting that actually changes how the AI writes is the prompt addon, documented in Prompt settings and language.
Language and library size
The language dropdown sets the language the AI writes in and offers all 133 WordPress.org locales from INFYP_Language_Manager. It is saved as a locale code under infyp_prompt_settings.language — the same setting the AI Settings metabox writes.
The dropdown always opens on your site locale
The wizard preselects get_locale() every time, even if you saved a different language before. Finishing this step writes whatever is shown, so a re-run overwrites a custom language with your site locale unless you reselect it first.
Library size is four ranges — 1–100, 100–1,000, 1,000–10,000 and 10,000+ — stored under image_count in infyp_wizard_data. It changes nothing: no batch size, no rate limit, no model. It is a hint you give, and it travels with the newsletter payload if you opt in below.
Newsletter and telemetry
One toggle, off by default. Leaving it off sends nothing anywhere. Switching it on sends your WordPress account name and email to the InfyPress newsletter service, together with the answers from this step. The plugin refuses to send any address other than the logged-in user’s, so nobody can be subscribed on your behalf.
Under it, See what data we collect opens a disclosure panel with four independent telemetry toggles, all on by default: site environment, theme info, content overview and plugin detection. They only apply when the newsletter toggle is on.
Telemetry categories
| Setting | Default | Description |
|---|---|---|
Site environment
|
On
|
WordPress, PHP and MySQL versions, server software, memory limit and debug mode. |
Theme info
|
On
|
Theme name, version and parent theme. |
Content overview
|
On
|
Media, image, post, page and product counts. No content, only counts. |
Plugin detection
|
On
|
Active and installed plugin names, capped at 30 active and 50 installed, plus flags for WooCommerce, Yoast, Rank Math and Elementor. |
Site URL, plugin version, locale and timezone go with any subscription and cannot be toggled off — but they are only sent if you subscribe at all.
Step 4 — Complete
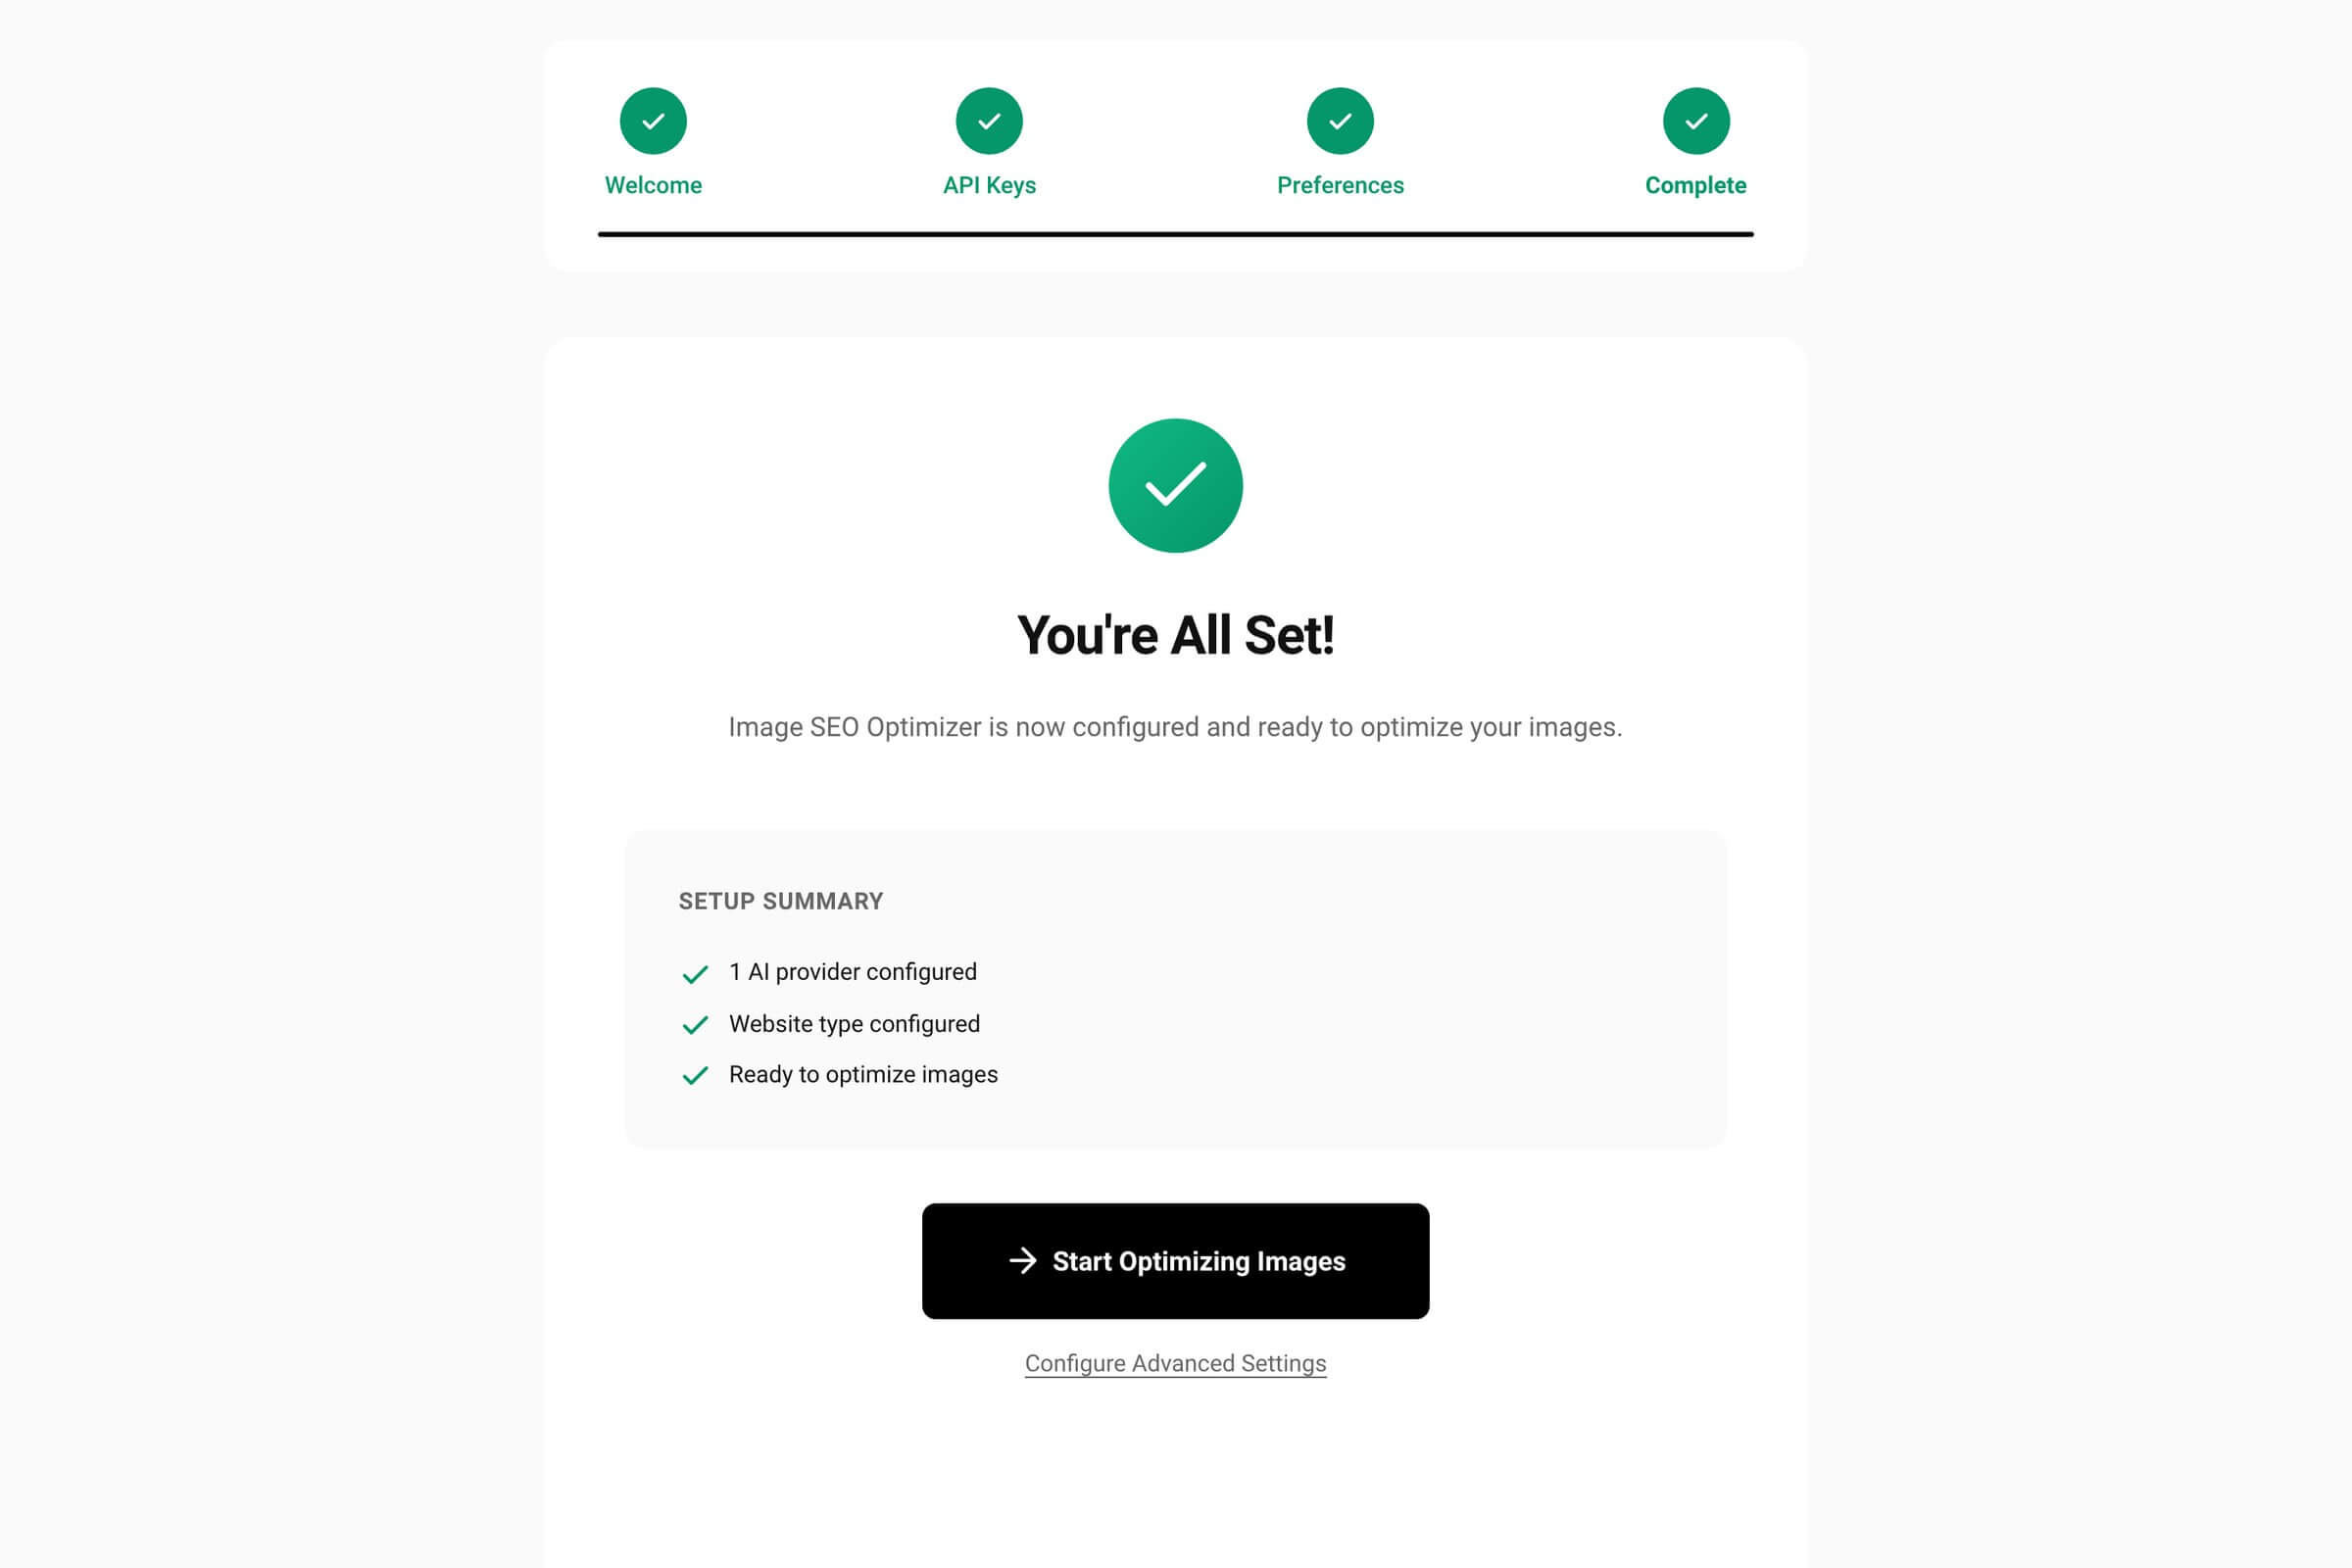
The summary is method-aware. With WordPress AI selected it reads Connected via WordPress AI (Connectors); with keys it counts the providers that have one. Website type is listed when you answered it. Two actions close the wizard: Start Optimizing Images goes to the dashboard, Configure Advanced Settings goes to the settings page.
Reaching this screen records a timestamp in the infyp_wizard_completed option; skipping records the value skipped. Either way the reminder notice and the automatic launch stop. The wizard has no separate save button — each step was already saved as you moved through it.
Re-running the wizard
The wizard page keeps working after completion. Open wp-admin/admin.php?page=ai-image-seo-optimizer-wizard and it renders the same four steps — the page checks your capability, not whether setup is done. What stops is the automatic launch and the reminder notice.
Because the submenu is hidden, there is no menu item and no button to click. Bookmark the URL, or append &step=preferences to land on a specific step.
Re-running keeps your keys, but can reset the language
Saved API keys, scoring weights and your prompt addon survive a second run — a stored key appears masked and stays unless you type over it. The one thing that does change is the output language: the dropdown opens on your site locale, so completing the preferences step again writes that locale over your saved choice.